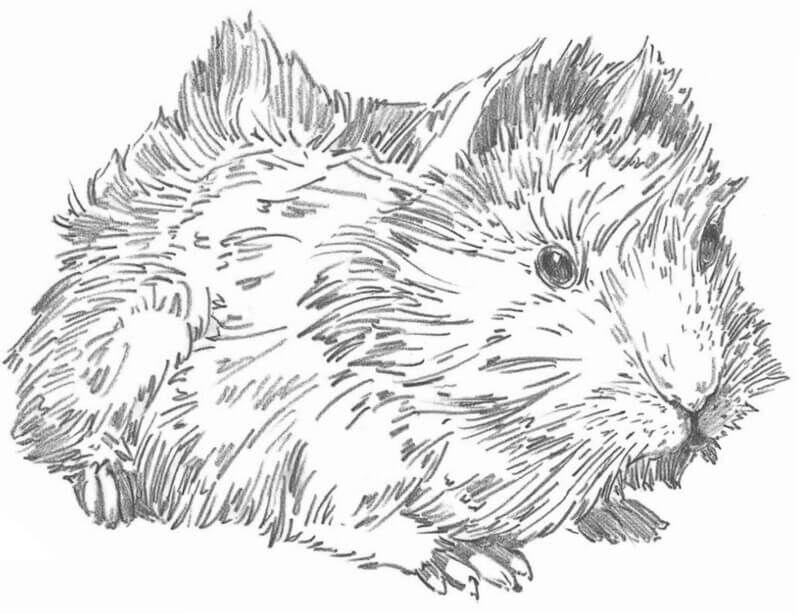
How to Draw a Realistic Guinea Pig with Pencil (Easy Step-by-Step Guide)
- ImagiDraw

- Jun 4, 2022
- 2 min read
Updated: Dec 28, 2025
Learn how to draw a realistic guinea pig with pencil using simple step-by-step instructions — perfect for beginners and pet art lovers. Includes tips on body shape, fur texture, paws, facial features, and shading.
Our guinea pig is quite furry and the biggest trick is to draw correctly all that fur so that it looks natural. Hope you will enjoy this drawing lesson.

Step 1. Outline the body and head of the guinea pig.
First, define the outline of the drawing, denoting the shape of the head and body of the guinea pig with two overlapping egg-shaped ellipses. Next, draw some guidelines, dividing the guinea pig's muzzle into four parts. Use a V to define the position of the nose. In our case, the whole body of the guinea pig is turned slightly to the side. It is important to correctly draw the guidelines for the eyes.

Step 2. Add details to the guinea pig drawing.
Add the details by using a few ovals to mark the position of the paws, then outline the ears and place the eyes exactly on the horizontal guideline.

Step 3. Continue to add details to the guinea pig drawing.
Draw the individual toes on the hind and forepaws, mark out the area of the nose with a "U" shaped line, and use small ovals to indicate the cheek pouches.

Step 4. How to draw guinea pig fur.
Create thick, fluffy fur around the skeleton structure we have already created, using short strokes of varying thicknesses.

Step 5. How to Draw a Realistic Guinea Pig with Pencil. Finishing the guinea pig drawing.
Erase all the auxiliary lines and continue to draw the fur. Apply light shadows around the edges of the guinea pig to create a sense of roundness.

Hope you liked our drawing tutorial! If you like our website, please also subscribe to our YouTube channel: https://www.youtube.com/@ImagiDraw


Comments